Table of Contents
ToggleChoosing the right window treatments for a living room isn’t just about blocking glare, it’s about controlling light, enhancing privacy, and pulling together the room’s design without overspending on custom work. Whether dealing with oversized picture windows, awkward corner placements, or standard double-hung units, the right combination of fabric, hardware, and mounting technique makes a tangible difference in how the space functions daily. This guide covers practical window treatment ideas for living room spaces, from classic fabric options to modern mechanical systems, plus layering strategies and DIY installations that don’t require a professional installer.
Key Takeaways
- Accurate measurements of window dimensions (inside and outside the frame) are essential for selecting and installing living room window treatments that fit properly and function as intended.
- Light control, privacy needs, and material durability should guide your choice between curtains, blinds, shades, and layered treatments rather than trends alone.
- Layering two or more window treatment types—such as sheer panels with heavy drapes or blinds with a valance—provides adjustable light control and visual depth for maximum versatility.
- Mounting hardware placement (inside vs. outside mounts) and proper structural support using studs and appropriate rod diameters prevent sagging and ensure long-term durability of heavy treatments.
- Budget-friendly DIY options like no-sew curtain panels, stenciled roller shades, and drop cloth drapes deliver custom aesthetics without the cost of professional installation.
- Natural materials like bamboo, linen, and reclaimed wood shutters offer sustainable living room window covering options that add organic texture while reducing environmental impact.
Choosing the Right Window Treatment for Your Living Room
Start by measuring window dimensions, both inside the frame (for flush-mount blinds) and outside the frame (for curtains that extend beyond the casing). Standard measurements include width, height, and depth of the window recess. For living rooms with multiple windows, measure each individually: older homes often have variances of half an inch or more between units.
Light control and privacy are the primary functional requirements. South-facing windows need UV-blocking treatments to prevent furniture fading, while street-facing windows require opacity for evening privacy. Assess the room’s natural light throughout the day before selecting opacity levels, sheer fabrics work for rooms with ample ambient light, while blackout linings suit spaces doubling as media rooms.
Mounting hardware affects both appearance and function. Inside mounts (brackets mounted within the window frame) create a clean, minimalist look but require a minimum recess depth of 2 inches for most blinds. Outside mounts (brackets installed on the wall or trim) add visual height and can conceal structural flaws or narrow frames. Use a stud finder to locate framing for bracket placement, drywall anchors alone won’t support the weight of heavy drapes over time.
Consider window operation. Casement and awning windows that crank outward need treatments mounted with enough clearance for the handle to turn freely. Double-hung windows allow more flexibility with inside-mount options. Test the full range of motion before drilling any pilot holes.
Classic Curtains and Drapes for Timeless Elegance
Fabric weight determines drape and light filtration. Lightweight cottons and linens (3-5 oz per square yard) provide soft folds and partial light diffusion. Medium-weight fabrics (6-10 oz) offer better insulation and more structured pleats. Heavy velvets and brocades (11+ oz) block drafts and sound but require reinforced rods, standard 1-inch diameter rods support up to 20 pounds: upgrade to 1.5-inch or 2-inch diameter for heavier treatments.
Rod placement affects proportions. Mount the rod 4-6 inches above the window frame and extend brackets 3-4 inches beyond each side of the frame to allow panels to stack off the glass when open. This creates the illusion of larger windows and maximizes natural light. For 8-foot ceilings, avoid mounting rods higher than 8 inches above the frame or the scale tips into awkwardness.
Panel width should be 1.5 to 2.5 times the rod length for proper fullness when closed. For a 60-inch window with a 68-inch rod (60 inches plus 4 inches on each side), order panels totaling 102-170 inches in width. Ready-made panels typically come in 50-inch or 54-inch widths per panel: two panels provide adequate coverage for most standard windows.
Hem length depends on the desired effect. Floor-length panels should hover 0.5-1 inch above the floor for a tailored look, or puddle 1-3 inches for a more formal appearance. Puddling collects dust and complicates vacuuming, practical for formal spaces, impractical for high-traffic areas. For living room window treatments ideas that balance elegance and maintenance, stick with a clean break at floor level.
Modern Blinds and Shades for Clean Lines
Horizontal blinds (aluminum or faux wood) offer precise light control via adjustable slats. Standard slat widths are 1 inch (micro-blinds) and 2 inches (standard). Two-inch slats provide better light blockage and fewer strings to tangle. Faux wood holds up better than real wood in humid climates or homes with south-facing sun exposure, real wood warps over time unless treated with UV-resistant finishes.
Vertical blinds suit sliding glass doors or extra-wide window spans. Standard vane widths run 3.5 inches. The track mounts on the header or ceiling and requires level installation, use a 4-foot level for spans over 72 inches. Vertical systems accumulate less dust than horizontals but the vanes can sway in drafts from HVAC vents.
Roller shades mount inside or outside the frame and operate via continuous loop chain, spring mechanism, or motorized lift. Fabric options range from sheer (10% openness) to blackout (0% openness). For living rooms, 5-10% openness filters glare while maintaining outward visibility during the day. Blackout roller shades work well layered behind decorative curtain panels for flexibility.
Cellular (honeycomb) shades trap air in the cells for insulation, effective for reducing heat loss in winter and heat gain in summer. Single-cell shades provide moderate insulation: double-cell designs offer higher R-values. Standard cell sizes are 3/8 inch (light control), 1/2 inch (balance of light and insulation), and 3/4 inch (maximum insulation). Top-down/bottom-down operation allows privacy at the bottom while admitting light through the top, ideal for street-facing windows.
Layering Window Treatments for Maximum Versatility
Layering combines two or more treatment types for adjustable light control, insulation, and visual depth. The most common setup pairs sheer panels or blinds (functional layer) with decorative curtains (aesthetic layer).
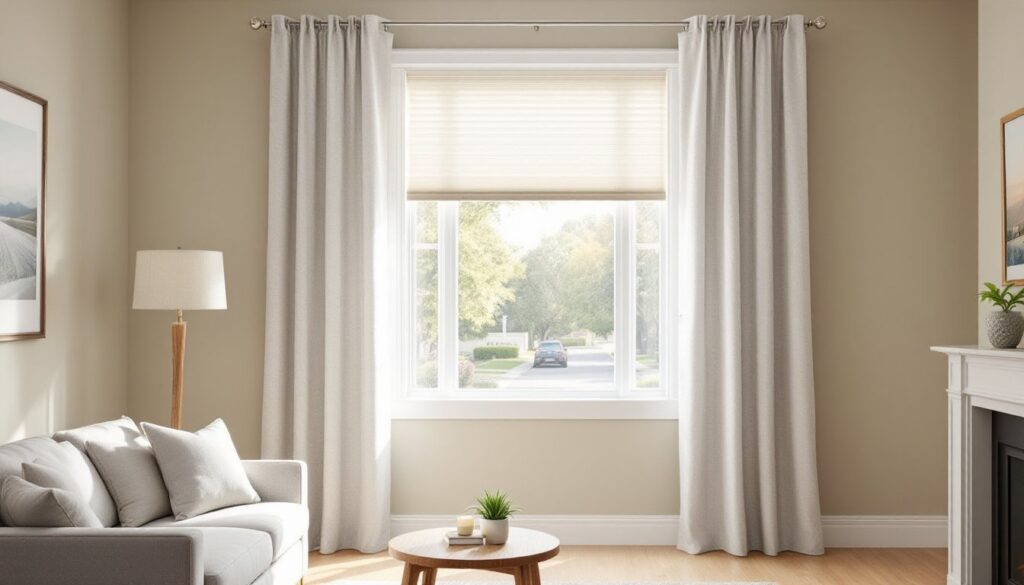
Sheer + Drape Combination: Install a sheer curtain on a rod mounted inside or just outside the window frame, then add heavier drape panels on a second rod mounted 2-3 inches in front of the first. Use double rod brackets to streamline the hardware. During the day, draw back the drapes and close the sheers for diffused light. In the evening, close both layers for privacy and insulation. This setup works particularly well for window covering ideas for living room spaces where flexibility is essential.
Blind + Valance or Cornice: Mount blinds or shades inside the frame, then add a fabric valance or wooden cornice across the top to conceal the headrail. Valances typically drop 12-18 inches from the top of the window: cornices add 4-8 inches of projection from the wall. Build a simple cornice box from 1×4 pine boards and 1/4-inch plywood, then wrap it with fabric or paint to match trim. This hides hardware while adding architectural detail.
Roman Shade + Side Panels: Pair a functional Roman shade (inside mount) with stationary curtain panels (outside mount) flanking the window. The shade handles daily light adjustments: the panels frame the window and soften hard lines. This combination suits living rooms where the window isn’t opened frequently, Roman shades with continuous cord loops operate smoothly for years with minimal maintenance.
Installation Sequence: Always install the functional layer first (blinds or shades), then add decorative elements. This ensures proper clearance and allows testing of the mechanical components before obscuring them with fabric.
Natural and Sustainable Window Covering Options
Bamboo and woven wood shades are made from renewable materials, bamboo, jute, reeds, or grasses woven into rolls or Roman-style folds. These provide moderate light filtration and add organic texture. Most bamboo shades are lined or unlined: unlined versions allow some light bleed between slats, while lined versions (with a fabric or vinyl backing) offer better privacy and UV protection. Expect 1/8-inch to 1/4-inch gaps between individual reeds.
These shades work best in dry climates or climate-controlled rooms. Excessive humidity causes warping, and direct sun exposure fades natural fibers over time. Apply a UV-resistant spray treatment (available at home centers) every 12-18 months to extend lifespan. Standard lift mechanisms include continuous loop cord or cordless spring-assist systems.
Linen and organic cotton curtains offer a low-impact alternative to synthetic polyester panels. Look for OEKO-TEX certified fabrics, which meet standards for harmful substance testing. Linen naturally resists dirt and requires less frequent washing than cotton, though it wrinkles easily, pressing with a steam iron keeps it crisp. Organic cotton panels come in medium to heavy weights and accept natural dyes well for custom color matching.
Reclaimed wood shutters (also called plantation shutters) suit living rooms with a farmhouse or craftsman aesthetic. Standard louver widths are 2.5 inches, 3.5 inches, or 4.5 inches. Wider louvers allow more light and better outward views when open. Shutters mount inside the window frame on a hinge system, inside measurements must be precise, as there’s no adjustment room once installed. Many lumber yards carry reclaimed wood suitable for DIY shutter projects: plane boards to uniform thickness (typically 3/4 inch nominal, 11/16 inch actual) and use a router with a shutter louver jig to cut the angled slots.
Budget-Friendly DIY Window Treatment Projects
No-Sew Curtain Panels: Use fabric glue or iron-on hem tape to create custom curtains without a sewing machine. Purchase fabric from a home decor retailer (canvas, duck cloth, or cotton/linen blends run $8-15 per yard). Cut panels to length, adding 4 inches for top hems and 3 inches for bottom hems. Fold hems and secure with fabric glue or fusible webbing (iron at medium heat for 10-15 seconds per section). Attach clip rings to the top hem and hang from a standard curtain rod.
PVC Pipe Cornice Box: Build a lightweight cornice from 1/2-inch or 3/4-inch PVC pipe and fabric. Cut PVC to create a rectangular frame matching the window width plus 4-6 inches on each side. Use PVC elbows and T-joints to assemble the frame, no glue needed for a friction-fit that disassembles for cleaning. Wrap the frame with batting and fabric, securing with a staple gun or hot glue. Mount to the wall above the window using L-brackets.
Stenciled Roller Shades: Purchase inexpensive vinyl roller shades (available for under $15 at home centers) and customize with fabric paint or stencils. Clean the shade surface with rubbing alcohol, then apply stencil patterns using fabric paint or acrylic paint mixed with textile medium. Allow 24 hours to cure before rolling. This method personalizes generic shades to match existing decor without the cost of custom printing. For paint adhesion, apply a coat of clear acrylic sealer after the design dries.
Tension Rod Café Curtains: Install tension rods (no drilling required) halfway up the window and hang café-style curtains for privacy without blocking top light. Tension rods work for window widths up to 48 inches and support lightweight fabrics only, don’t exceed 1 pound per rod. This approach suits renters or those avoiding wall damage. According to home decor experts, café curtains remain a practical solution for kitchens, bathrooms, and living rooms requiring partial coverage.
Dyed Drop Cloth Drapes: Canvas drop cloths (6×9-foot or 9×12-foot sizes) make budget-friendly curtain material. Wash twice to remove sizing, then dye using fiber-reactive dyes or all-purpose dyes in a washing machine or large bucket. Hem the edges with a sewing machine or fabric glue, add grommets or clip rings, and hang. A 9×12-foot drop cloth yields two 54-inch-wide panels at 108 inches long, typically costing $15-25 total before dyeing supplies.
Conclusion
Effective living room window treatments balance function, aesthetics, and budget. Accurate measurements, proper hardware installation, and honest assessment of light and privacy needs prevent costly mistakes. Whether installing ready-made blinds, sewing custom drapes, or layering multiple treatments, prioritize structural support and material durability over trends. Most window treatment projects require only basic tools, drill, level, measuring tape, and a step ladder, making them accessible to DIYers comfortable with measuring twice and cutting once.